






Spiral Abyss 7.2 (November) cycle has started in Genshin Impact, and it brings a lineup of bosses with very annoying mechanics. However, unlike the Stygian Onslaught and the Imaginarium Theater, you have no restrictions on how you build your team. It is the first endgame mode that many new Genshin players will face, but that doesn’t mean it’s a walk in the park.
I have made this guide to help you understand each enemy on Floor 11 and Floor 12 of the Spiral Abyss 7.2 (November), so you can build the best teams and strategies to earn all rewards with 36/36 stars. Let’s jump right in!
Floor 11
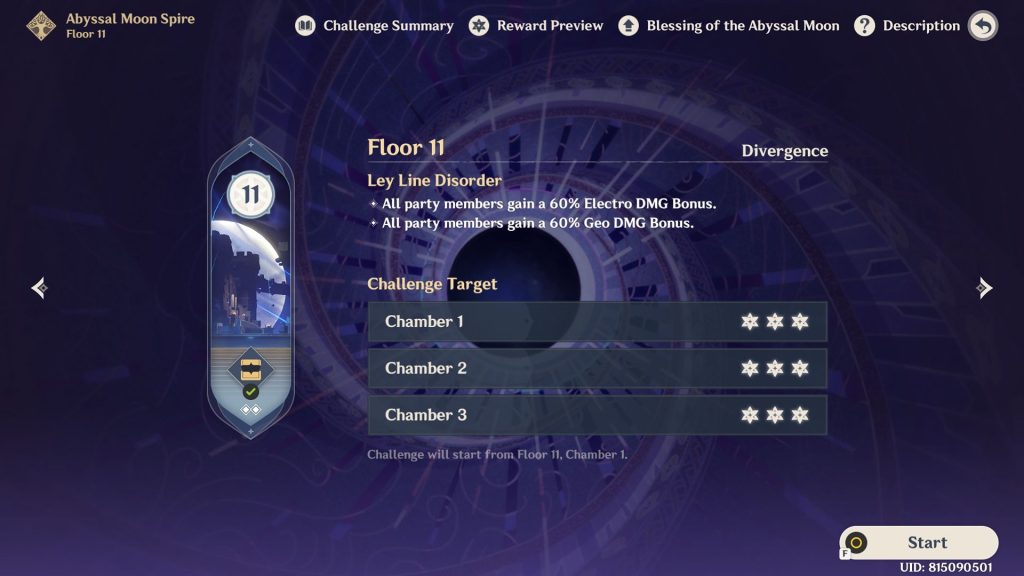
| Ley Line Disorder |
|---|
| All party members gain a 60% Electro DMG Bonus. |
| All party members gain a 60% Geo DMG Bonus. |
Floor 11 of Spiral Abyss 7.2 (November) in Genshin Impact favors both Electro and Geo elements. Since the enemies in this Floor are lower-leveled, it should be easy to complete it even with older characters that are no longer in the meta.
Chamber 1
First Half
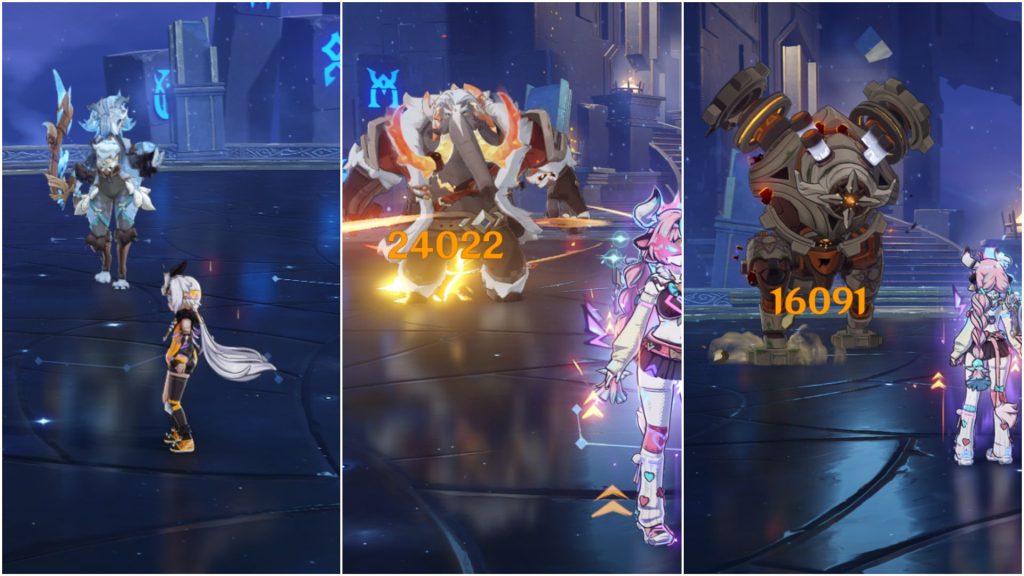
The First Half contains 3 waves of single enemies. Volkodlak Archer, Fanged Zealot, and then Ruin Drake: Earthguard. They have low HP and can be cleared with any decent team. The Volkodlak has ranged attacks while the Zealot will come up close for melee combat. The Earthguard, on the other hand, has a mechanic where if the fight goes for too long, it absorbs your character’s element and gains high RES.
Second Half
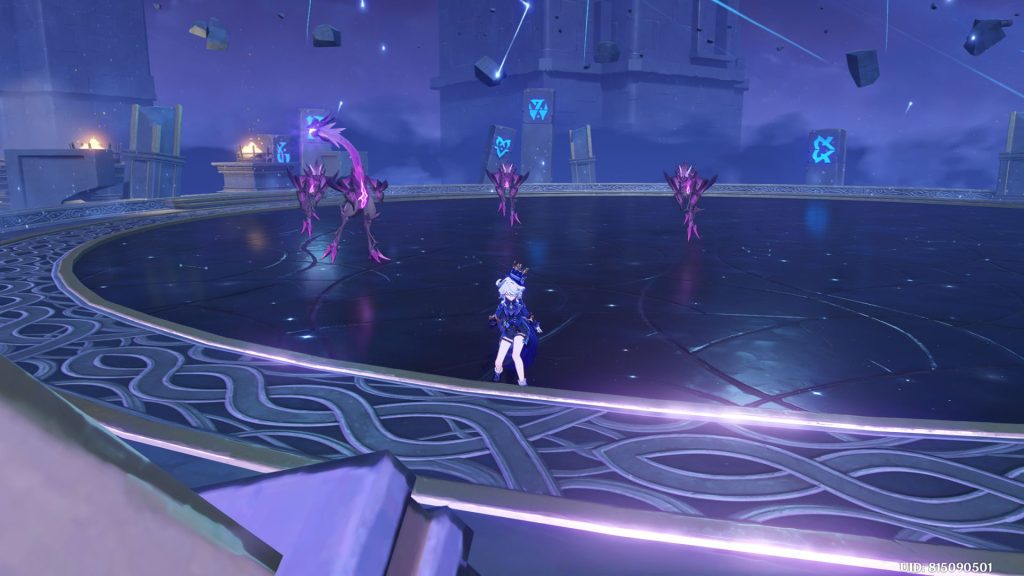
In the Second Half, you will face off against 12 Fishers of Hidden Depths. They will spawn 4 at a time and are interconnected in a way that once you break the initial shield of any one of them, all four will be staggered and come to a single point. You can deal AOE damage to defeat all four together this way. Simply repeat your rotations and defeat all three waves.
Chamber 2
First Half
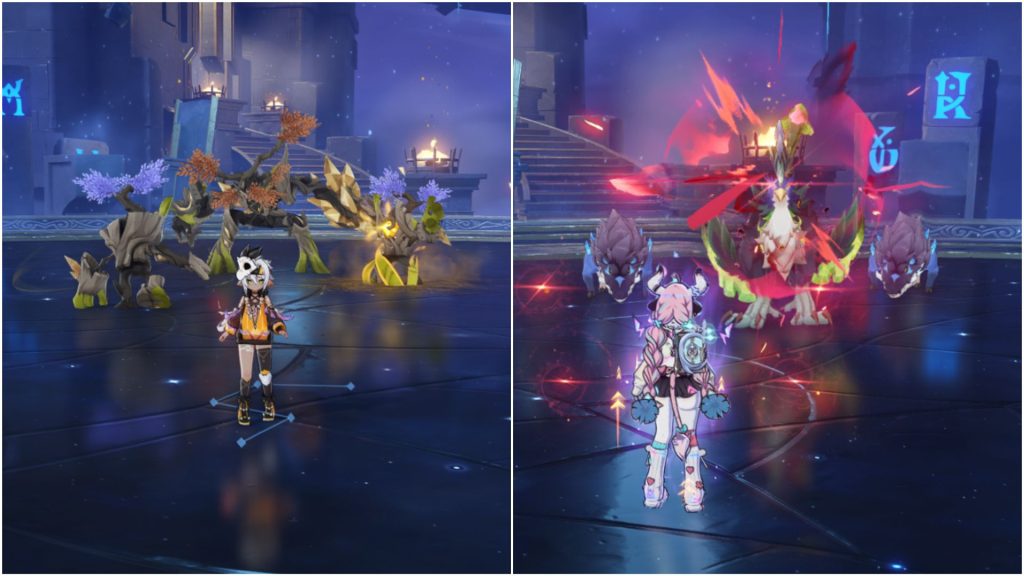
The fight starts with 1 big Leshy accompanied by 2 Juvenile Tree Segments. Close the distance or the Leshy will jump towards you and all enemies will be scattered. Have them close to each other and deal AOE damage to defeat the wave fast and move on to the next. The second wave has 1 Chimeric Skorp accompanied by 2 Chimeric Crocohoofs. The strategy will be similar to the first wave. Stellar reactions interrupt a lot of their attacks, but you don’t need it to clear these normal enemies.
Second Half
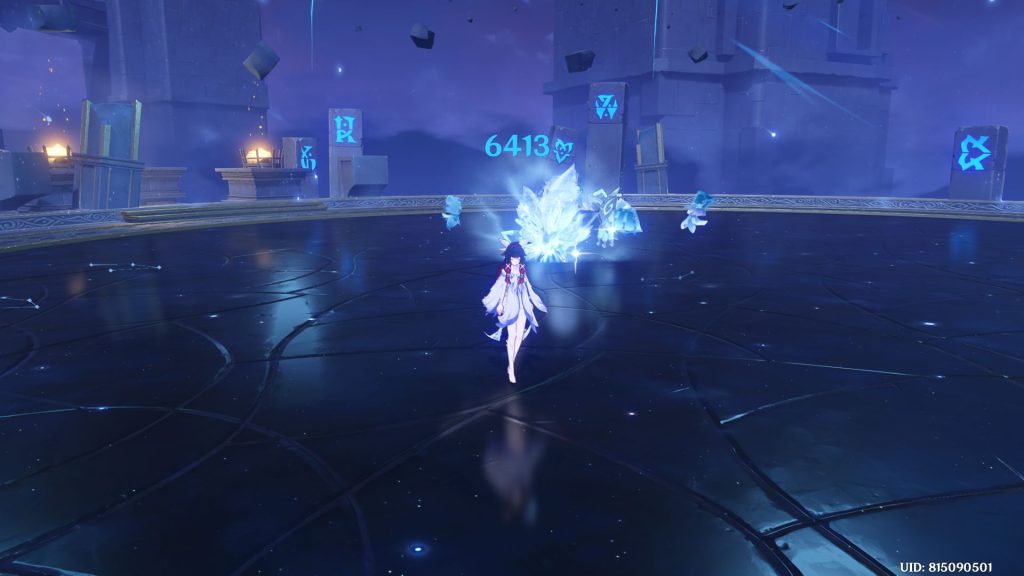
There will be only 1 enemy here and its the Radiant Glacial Wolf. It’s not the strong Local Legend version so you don’t have to worry. Simply set up your rotation and deal damage as usual. It does hit hard if your active character is fragile, so be careful and dodge its claw attacks whenever possible.
Chamber 3
First Half
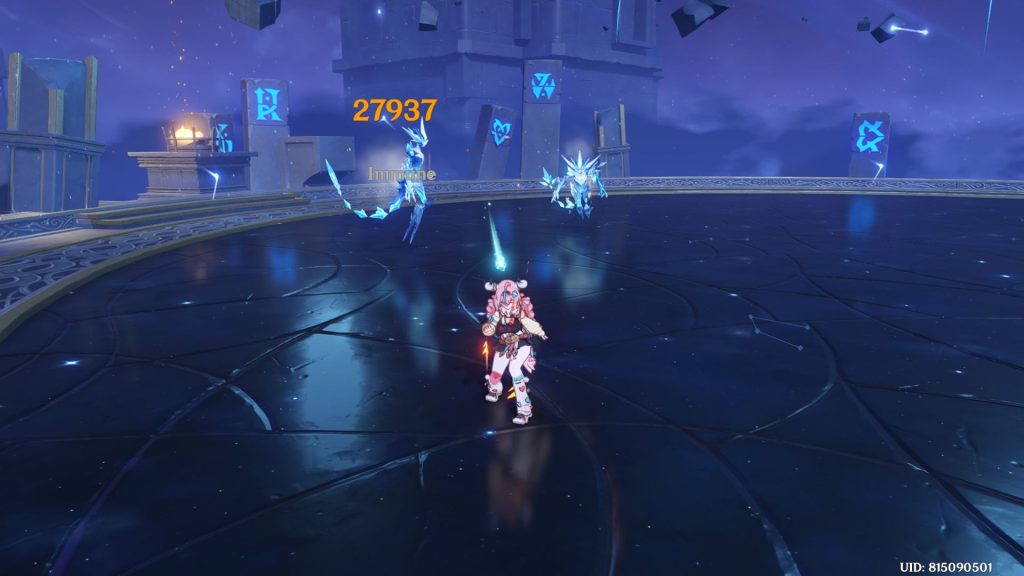
In the First Half of Chamber 3, there will be 4 Icebound Reflections, spawning 2 at a time. Defeating one will let another take the field. They are a bit tanky and since they are newly introduced, some players may find them difficult. Just take them as normal enemies and try to avoid bringing Cryo characters as the Icebound Reflections are immune to it. Any other element should be fine for this fight.
Second Half
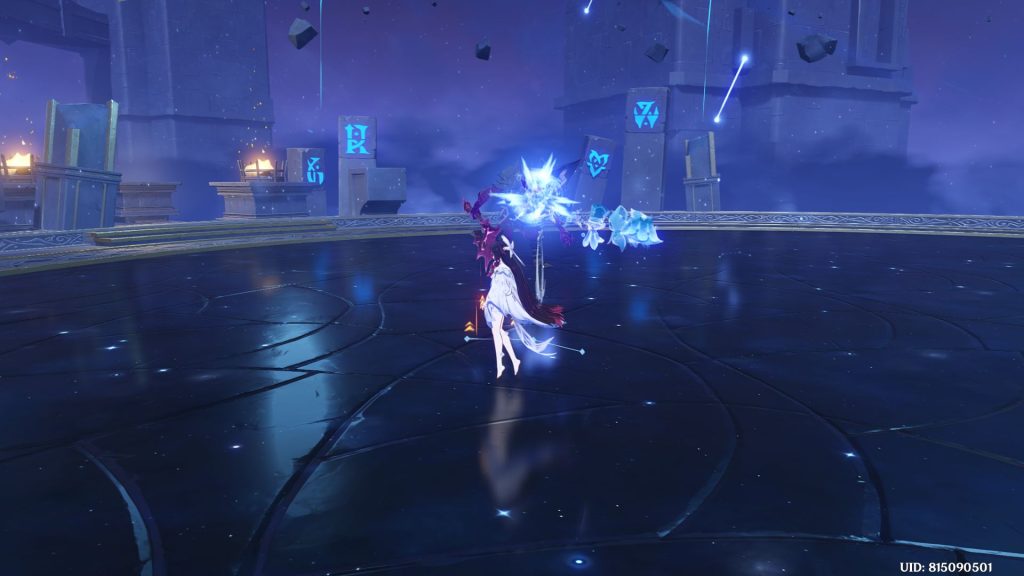
There will be 1 Wilderness Hunter in the Second Half. These are a bit on the tankier side for usual Floor 11 enemies, however, if you have Lunar reaction DMG, you can cut its HP in half as you won’t have to deal with its second HP bar. Even without Lunar characters, the Wilderness Hunter is barely an elite enemy, so bring whatever decent team you have. Geo and Electro are especially good due to the Ley Line Disorder.
Floor 12
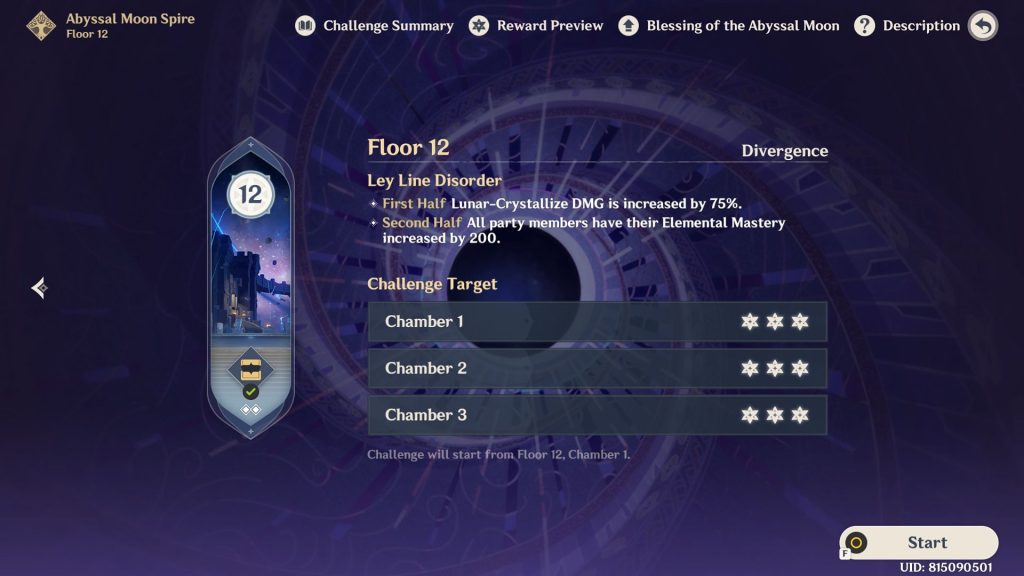
| Stage | Ley Line Disorder |
|---|---|
| First Half | Lunar-Crystallize DMG increased by 75% |
| Second Half | +200 Elemental Mastery to the whole party |
The First Half favors Lunar-Crystallize teams, especially Zibai and Linnea. So if you have them, each boss fight will be very easy. If you don’t, you can still use other strong DPS characters like Flins and Nefer, but you’ll need to counter certain enemy mechanics to stand a chance. In the worst-case scenario, you might have to run a different team for each Chamber, but let’s leave that as the last option.
The Second Half gives a lot of EM, which is good for Mitya who is featured on the banner. If you have a well-built Mitya, he will perform extremely well. Otherwise, any characters that benefit from EM should have a good upper hand.
Chamber 1
First Half — Battle-Hardened Prism Slime
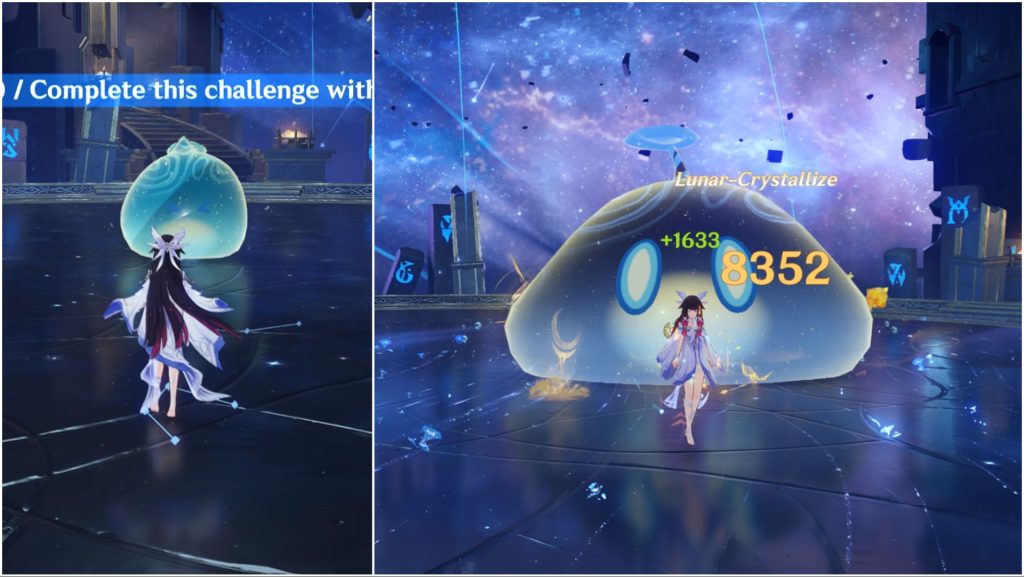
At the start of the battle, Prism Slime will have a gauge meter below its HP bar. During this phase, Prism Slime will absorb the elemental energy of your active character, essentially draining your Elemental Burst. As it drains your energy, the gauge will fill, and Prism Slime will become immune to the element it absorbs. It can only be immune to one element at a time, so make sure you let it absorb an unimportant element. Doing elemental attacks will also fill up the gauge, so you can speed up this phase.
Teams with multiple elemental-type damage are really good here, like Chasca, Varka, Lohen/Durin duo, etc. You can also use pretty much any strong meta team and let the Prism Slime only drain the energy of characters whose element differs from your main DPS. Let the boss absorb the energy of two such characters and perform elemental reactions to fill the meter to max before you start your attack phase.
Once the meter is full, the Prism Slime grows in size and gets a dark blue color. In this phase, it will take damage from all elements, so this is your main DPS window. The boss will repeat this pattern throughout the fight. Besides what I already mentioned about multiple elemental-type teams, Lunar and Stellar teams both have enough DPS to defeat this boss with ease, as long as you manage its energy absorption phase well.
Second Half — Wavebinder
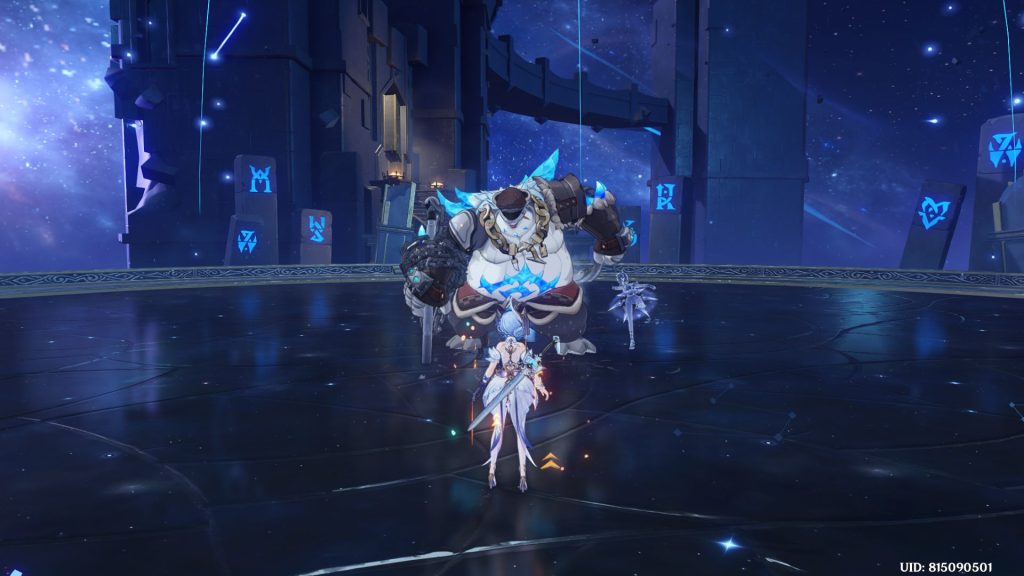
You probably already hate Wavebinder from the Stygian Onslaught; don’t worry, I do as well. It is annoying, but thankfully it is not as tough as the other variant. Spiral Abyss is a bit more forgiving, so this one should be manageable.
Electro, specifically Stellar-Conduct, is highly effective against the boss. You can easily build a Stellar-Conduct with Cryo Traveler, but if you can’t, I recommend having Fischl as the Electro character. Throughout the fight, Wavebinder starts drinking, and the meter beneath its HP bar fills very quickly. You can interrupt this with Stellar reactions, but to reduce this meter, Electro or Stellar-Conduct is required. Depending on your application, you can keep preventing the Wavebinder from making a shield. Yae Miko and Mitya are really good for that.
If Wavebinder gets a shield, hit it with as many Electro or Stellar-Conduct attacks as possible to destroy it. Breaking the shield will deal knockback damage to the boss. Since you have access to the Cryo Traveler, using him to trigger Stellar-Conduct will be tremendously helpful. As for the boss itself, hug its tail as much as possible, since it rotates very slowly and you can avoid almost all of its attacks this way.
Chamber 2
First Half — Frostnight Herra
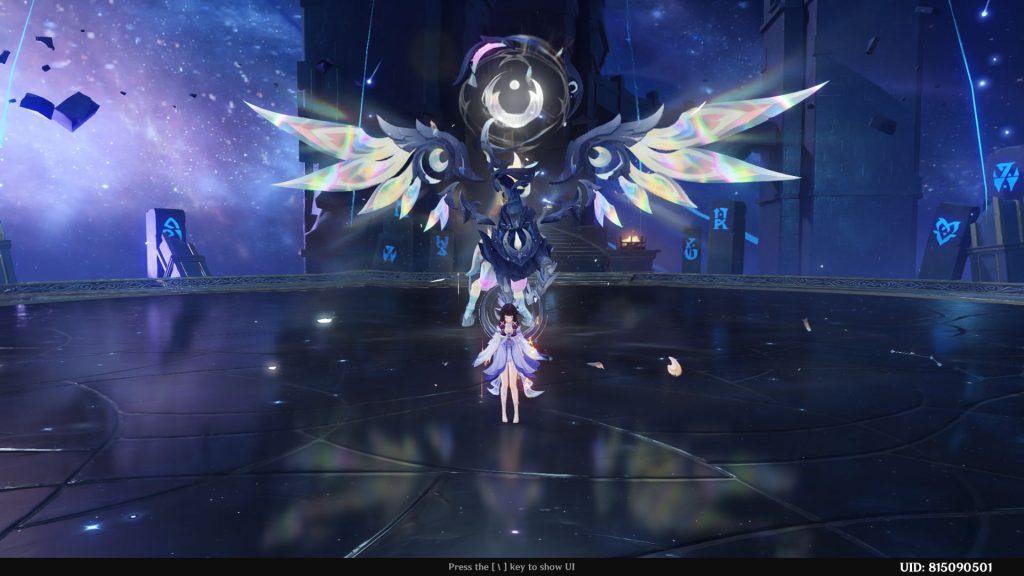
While many people recommend using Lunar Reaction teams against Frostnight Herra, it is the most expensive archetype in the game, and not everyone has a strong Lunar team. Instead, there is another way to use Frostnight Herra’s own mechanic against it.
During the fight, Frostnight Herra will teleport to the center of the arena and unleash beams at you while generating a Fury bar. You have to interrupt this attack with high-frequency attacks to fill the bar quickly before it charges up. Interrupting this is important, as it will stun the boss and make it immune to the element from which it took the most damage. It will also get a permanent corresponding element aura. Lunar Reactions and Physical DMG are exempt from this, which is why Lunar is so good against it.
- More Insider Gaming: All 90 Cryoculus Locations In Snezhnaya Genshin Impact 7.2
However, let’s say you apply a lot of Cryo and let the boss absorb the element, making it immune to Cryo and giving it a permanent Cryo aura. You will now be able to do a Melt reaction with every single attack. All you need to achieve this is a character like Skirk, Citlali, or Rosaria, etc. If it is Rosaria, pair her with as much ER as possible for Burst and with Crescent Pike to increase ATK Speed. Use only this character during the phase to let Frostnight Herra absorb Cryo.
Once it is done, switch to your Pyro main DPS and Melt with every single hit. Mavuika, Xiangling, Durin, etc., are all really great choices. Pair them with supports like Iansan, Bennet, Xilonen, or anyone to boost ATK or EM, or to shred enemies’ RES. This strategy has been tested on the Stygian Onslaught version of Frostnight Herra, so it will be even more viable here.
Second Half — Guardian Blade of Drifting Snow
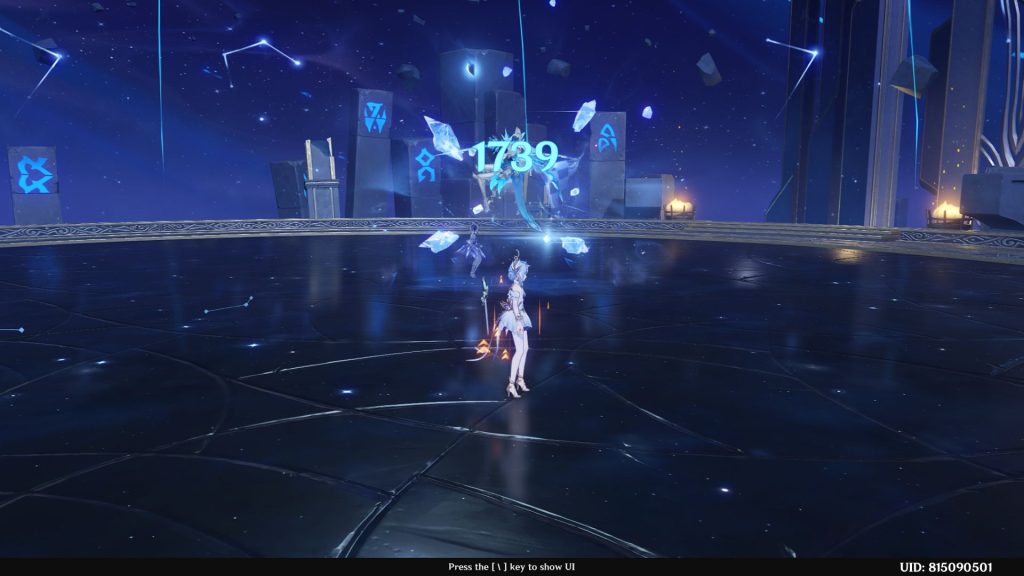
The Guardian Blade of Drifting Snow is a Snow Fae boss that has higher Cryo RES, while all other elements are are decently effective. The boss fight is fairly simple, and the only thing that you need to know more about is the shield she summons later in the fight. It is very tanky, and while Pyro is good against this shield, Stellar Reactions will be the fastest way, just like the Wavebinder fight.
Cryo Traveler is highly recommended, and if you haven’t built them already, let this be the perfect excuse to do so. You can pair the Cryo Traveler with any Electro character, support or main DPS, and they will change the fight completely. I would say that maybe bringing Cryo Traveler as a support will be the best choice because you can then focus on a reaction that the boss doesn’t have higher RES to. If you have Yumemizuki Mizuki, this boss will be too easy.
If you fail to destroy the shield, the boss will regenerate a chunk of her HP and continue the fight. Letting her heal isn’t a dealbreaker as you have a generous amount of time, but it will make the fight more tedious and her attacks can be brutal enough to down your party if you aren’t careful enough.
Chamber 3
First Half — Radiant Moongecko
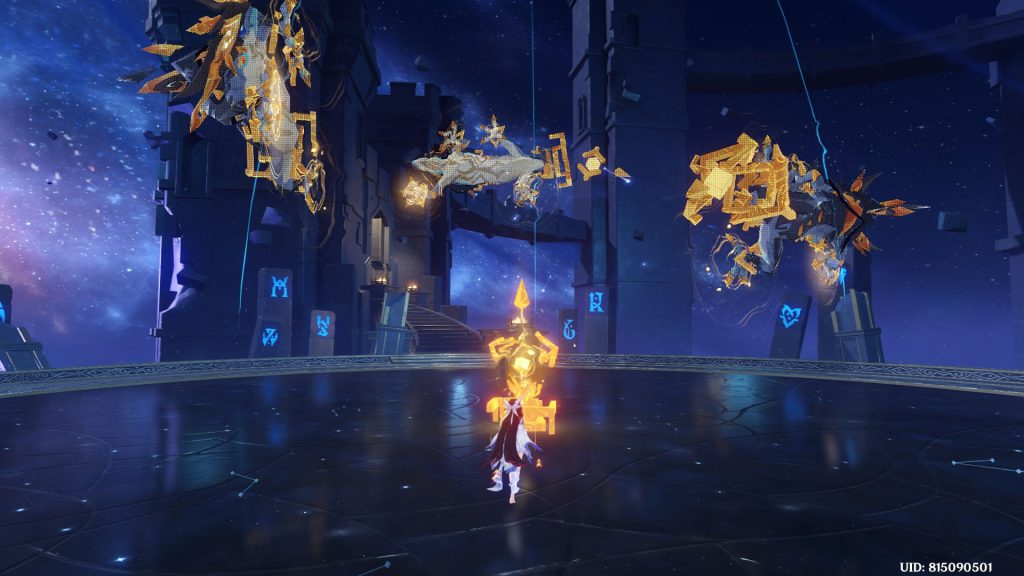
The Radiant Moongecko is available in both the Stygian Onslaught 7.2 and Spiral Abyss 7.2 at the same time. While it would be 10x better if you could use a Lunar-Crystallize team, not everyone has Zibai or Linnea. So, the only thing you need to worry about is breaking the Geo construct and healing yourself to the max when affected by the debuff.
The Geo construct can be broken by almost any Claymore character, and Geo characters should do really well. Chongyun is among the fastest to break this shield if you can dash cancel his animation after the 2nd Normal Attack. If you are using Sandrone or another Claymore main DPS, that should also be just fine.
As for the debuff, even Barbara with Prototype Amber or any other healer with a Healing Bonus Circlet and the right substats will do the job. Save their utility until you are affected and then use them to fill your character to the max. You have to make sure each important character has been healed, or else only half of your party will be performing at their best.
Second Half — Perpetual Mechanical Array
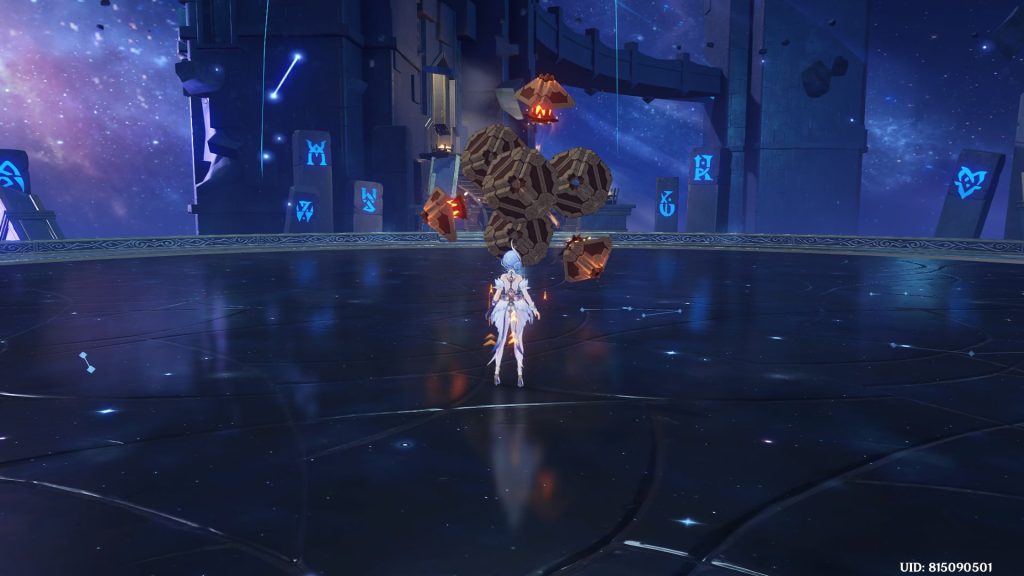
The final boss of Spiral Abyss 7.2 (November) is also perhaps the easiest one. It is a very neutral boss with no specific requirements. You focus on single-target DPS and bring the Perpetual Mechanical Array’s HP down to one-third as quickly as possible to force a phase transition. Once it summons four Ruin Sentinels, look for the glowing one and defeat it to stun the boss.
After the Perpetual Mechanical Array has been stunned, you should have more than enough time to finish the fight before it even gets up. If you don’t, simply keep attacking it before it can do the same phase transition, or you won’t be able to get the rewards within the time limit. Do note that you don’t have to get to one-third of the HP for the phase transition. It can also happen before that, but focusing on DPS from the start is the best strategy.
- More Insider Gaming: All Undetectable Chests In Novokitezhgrad & Wingspan Peak Genshin Impact 7.2
You should now be able to clear the Spiral Abyss 7.2. If you still find yourself struggling to complete with one team across the Chambers, remember you can always change things up for each one as the game only counts your best run for each Chamber. So, it is possible to clear Floor 12 with six different teams for each half. Of course, you can’t use the same team from First Half of a Chamber in the Second Half as well.
What do you think of the Spiral Abyss 7.2 (November) cycle in Genshin Impact? Let us know your thoughts on the Insider Gaming Discord server.
For more Insider Gaming coverage, check out why Genshin Impact players are furious at potential mitya nerfs. And for even more Insider Gaming delivered directly to your inbox, sign up for our newsletter

Mudassir carries years of experience as a journalist and embodies that in his articles. His motto is "All great ideas come while writing." When he's not interviewing someone, he's on…
More from Mudassir Hussain




Comments