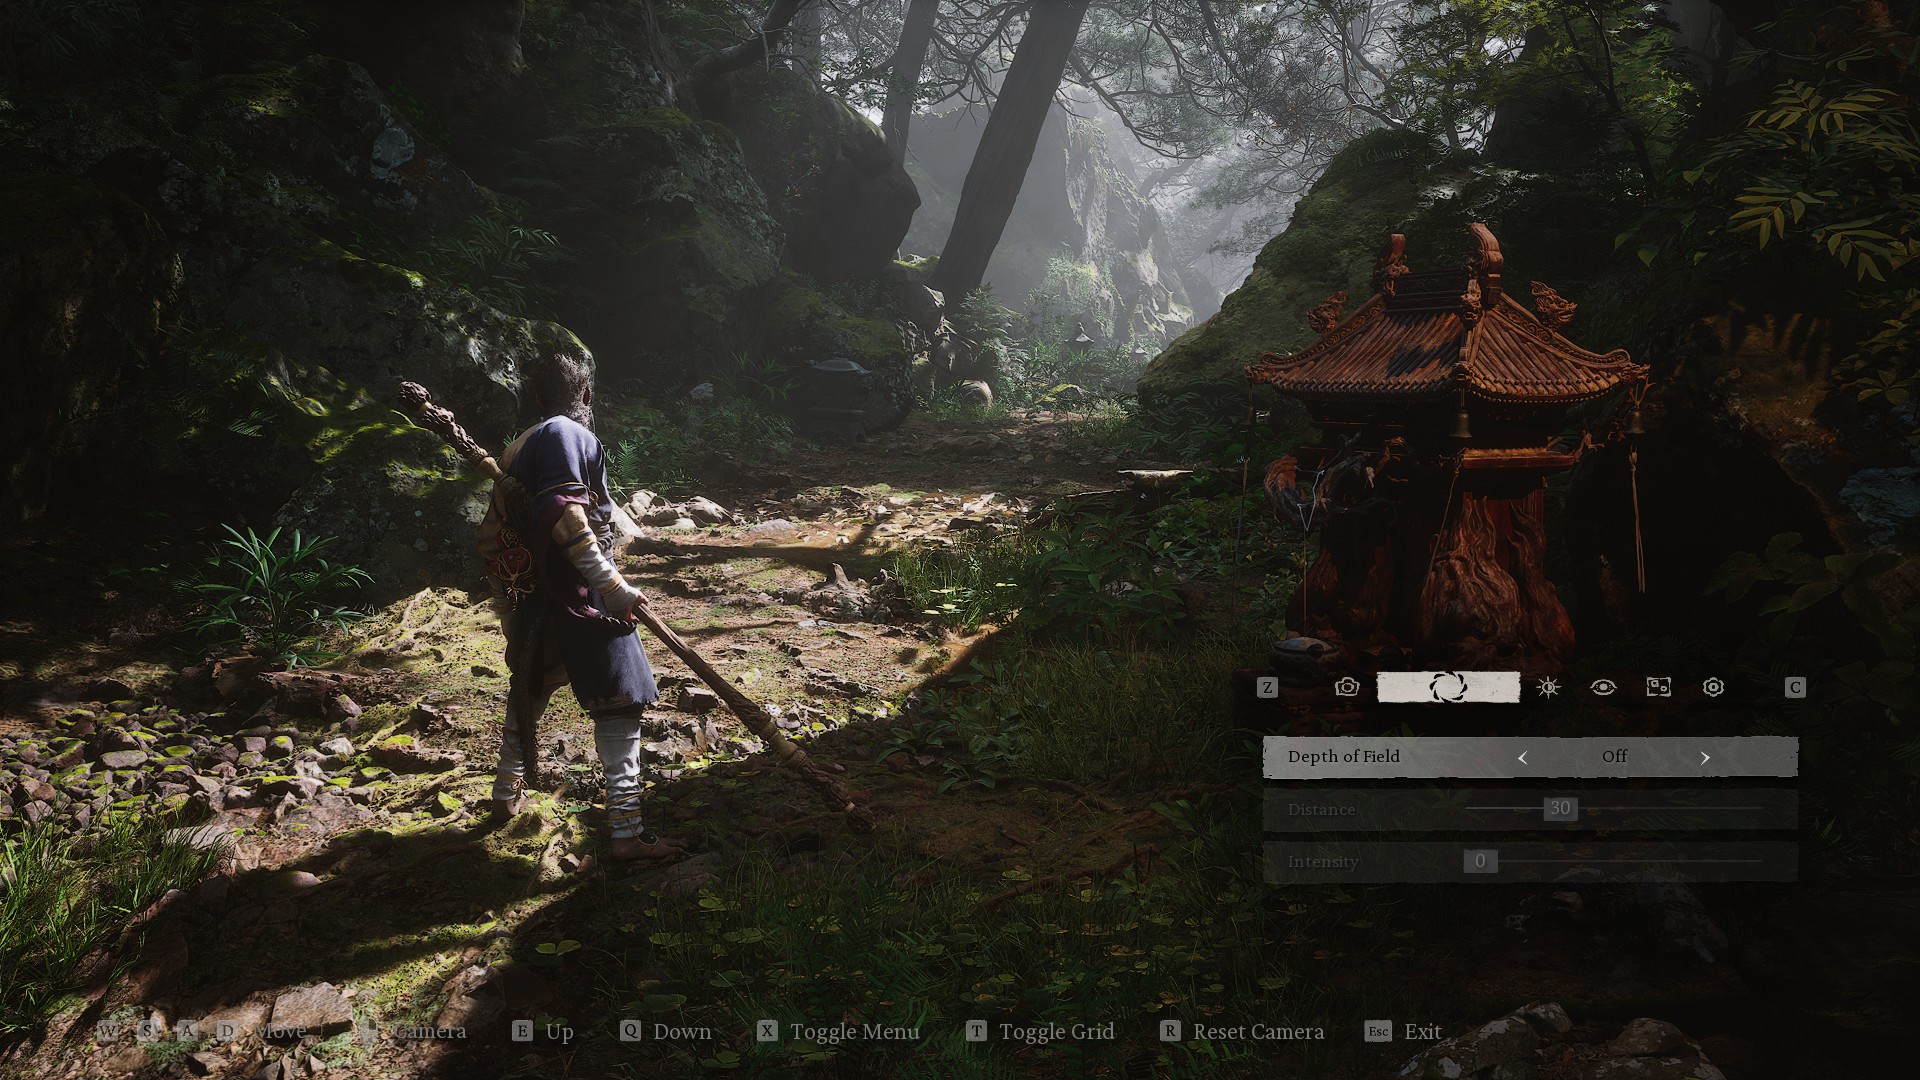
The mark of a fantastic game isn’t in its performance or content; it’s whether or not it includes a photo mode (Kidding!). As someone who adores taking screenshots and sharing them whenever possible, I love it when a new game launches with a built-in photo mode. As it turns out, there’s a Black Myth: Wukong photo mode, too. It’s not immediately obvious how to use it, though. We’ll teach you how!
How to Use Photo Mode
The controls to access photo mode in Black Myth: Wukong vary depending on the system and controller you’re using, but you can access the mode with:
- Pressing “P” on your keyboard.
- RT + View on Xbox controllers.
- R2 + Touch Pad Left on PlayStation controllers.
Using a controller, I will say that activating photo mode is a little unintuitive, especially while you’re in the middle of combat.
There’s something of note, however. When you launch the photo mode, your HUD isn’t automatically removed. You can do so by hitting “X” on your keyboard or controller.
Related: How to Remove Poison in Black Myth: Wukong
Photo Mode Settings Available

On the surface, the game’s photo mode is straightforward. I’ve seen more complex photo mode features with far more features available to players, but this one will suffice, especially considering how gorgeous the game is already. When you use photo mode, you can alter a few settings before snapping a screenshot:
- Field of View
- Camera Roll
- Depth of Field
- Distance
- Intensity
- Brightness
- Contrast
- Vignette
- Filters
- Add/Remove Headgear
- Add/Remove Body Stains
- Frames
- Stickers
You can also alter the camera’s angle using the controls on the bottom of the HUD. On PC, you use WASD to move the camera’s position and E or D to move the camera up or down.
Have you had a chance to check out our extensive and growing Black Myth: Wukong guides hub? We’re covering as much of the game as possible for you!


